
Want to master parenting once for all?
If you have exhausted the list of indoor activities during lockdown, but you are still taking precautions and only going out now and again, these novel ideas will keep your little ones away from the computer screen!
This blog holds the secrets to transforming your home into a campsite or caravan park, building indoor dens, drawing up a checklist and going on a local scavenger hunt.
1. Activity: Fort building, den building and camping in the back garden
For: The mischief-makers and campout comrades
What’s the difference between a fort or a den? Forts, as the name implies, tend to be built with defence in mind, so they are perfect for kids who like to dress up as knights in shining armour! Dens tend to be much cosier in feel, offering a place to retreat to.
Dens and forts provide opportunities for a range of play and social functions for kids. These can either be childhood places of solitude, or their very own wacky warehouse! Children use dens and forts as hideouts, places to sit and observe the world, or places to escape it entirely by reading stories or pretenting they are characters inspired by their favourite movies or fantasy novels. Their fort could be a pirate ship one day, and a wizard's academy the next!
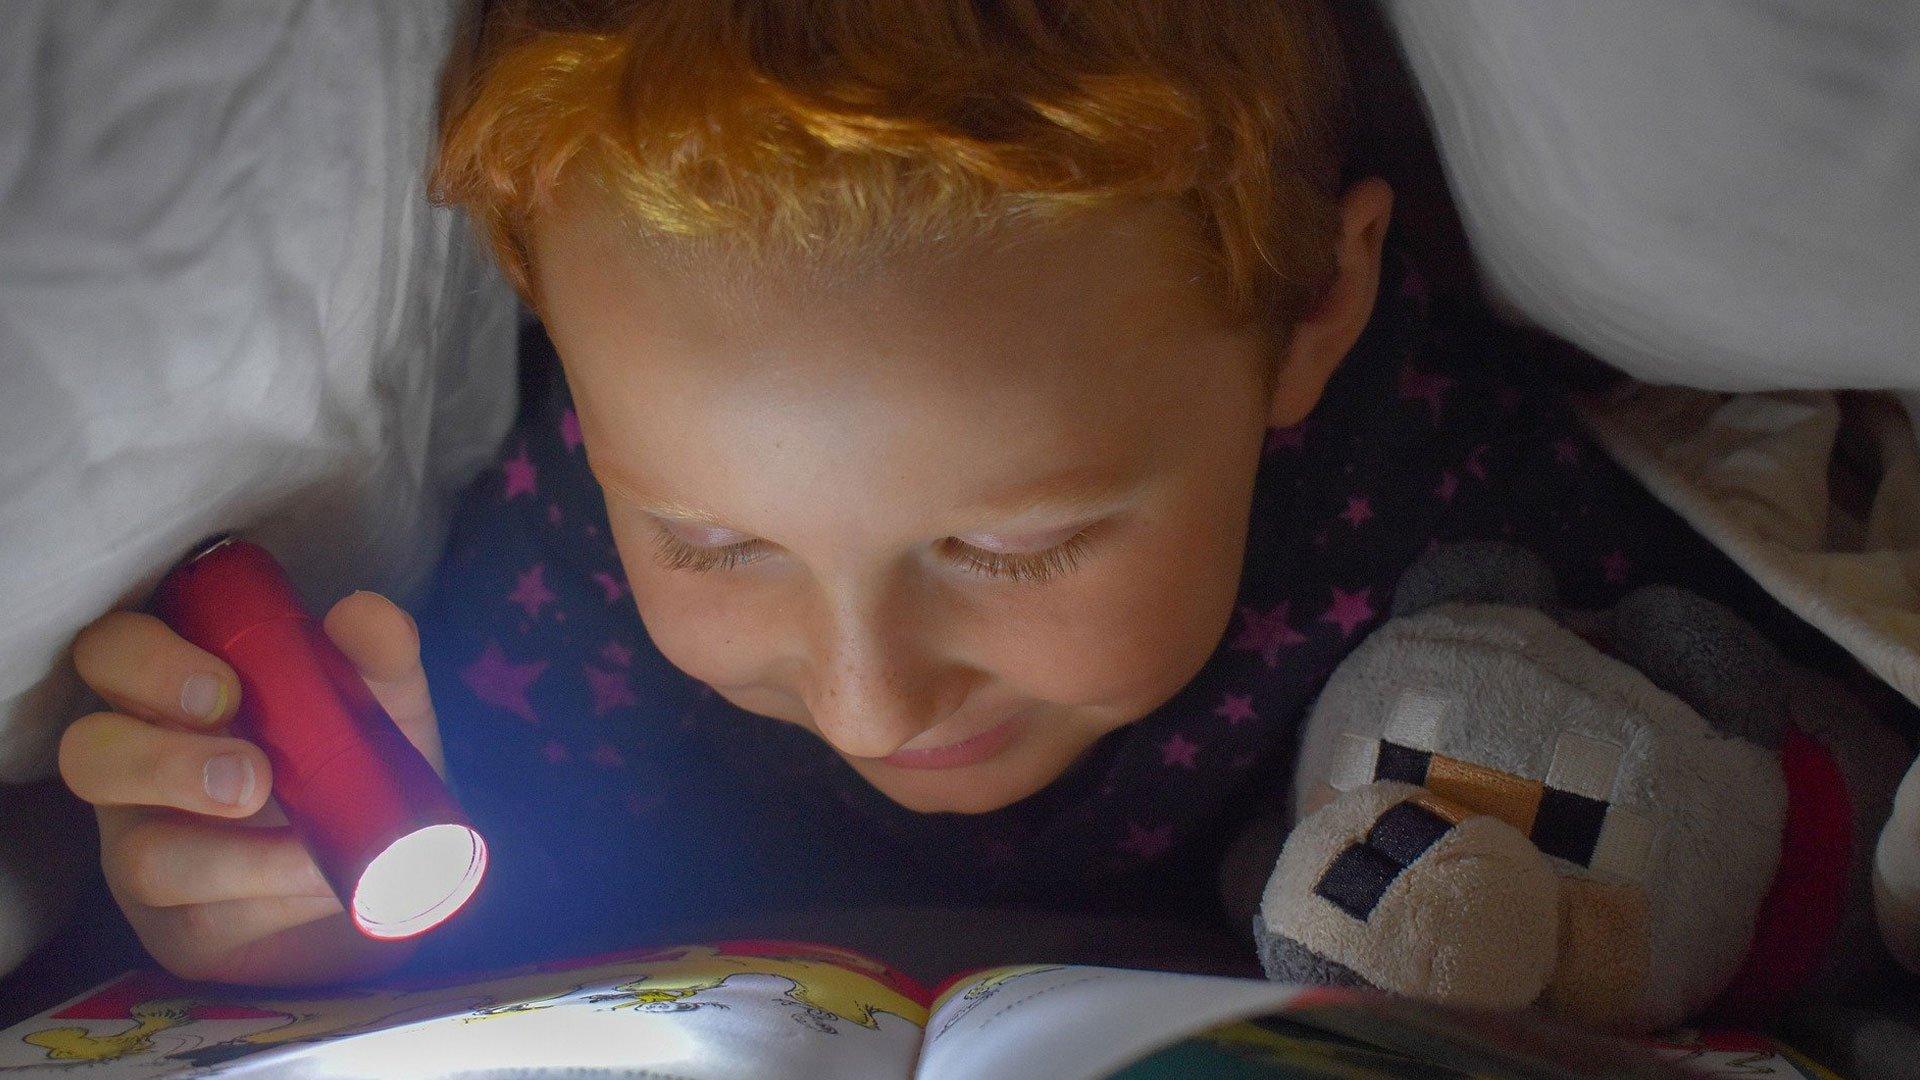
Building your own den or fort could help you shake the habit of being glued to the TV if you even you as well as your youngsters are beginning to be able recite the verses to songs in musical films word for word!
Here’s what’s involved in building your own:
- Pick a location - Embrace your space and make the most of your house by pretending each room is a different camp zone. Colour code them and move around the house until you’ve camped in the living room, dining room, spare bedroom, back living room and/or your little one’s bedroom, and the garden if the weather allows for it!
- Pitch up the den - Place a few chairs of differing heights around the living room and make sure that their backs are facing the inside of the den. Put a roof over their heads by draping some old throw blankets, some old bedsheets or a lightweight duvet over the chairs. Tall washing baskets or bedside cabinets could also be used to uphold the fort
- Put a few cushions (not your best ones!) on the floor - Now you’ve got the main building out the way, it’s time to sort out the interior. Use cushions, bean bags, spare pillows, mattress toppers, anything that’s going to provide a spongy surface to sit on
- The lighting on the cake! - Add some finishing touches to your den by stringing up lights around it or making a personalised sign for it. Go for the old-fashioned ‘Keep out’ or 'Kids' Only Zone' if the den is just for your children
- Outdoor incense candle - Light a candle with an outdoorsy scent and place it somewhere high up or somewhere safe on the outside of the den. Our fun Bucket Candles will create a quirky campout mood in your home!
Camping in the back garden
In the lead up to spring and summer, the nights are beginning to stay lighter for longer.
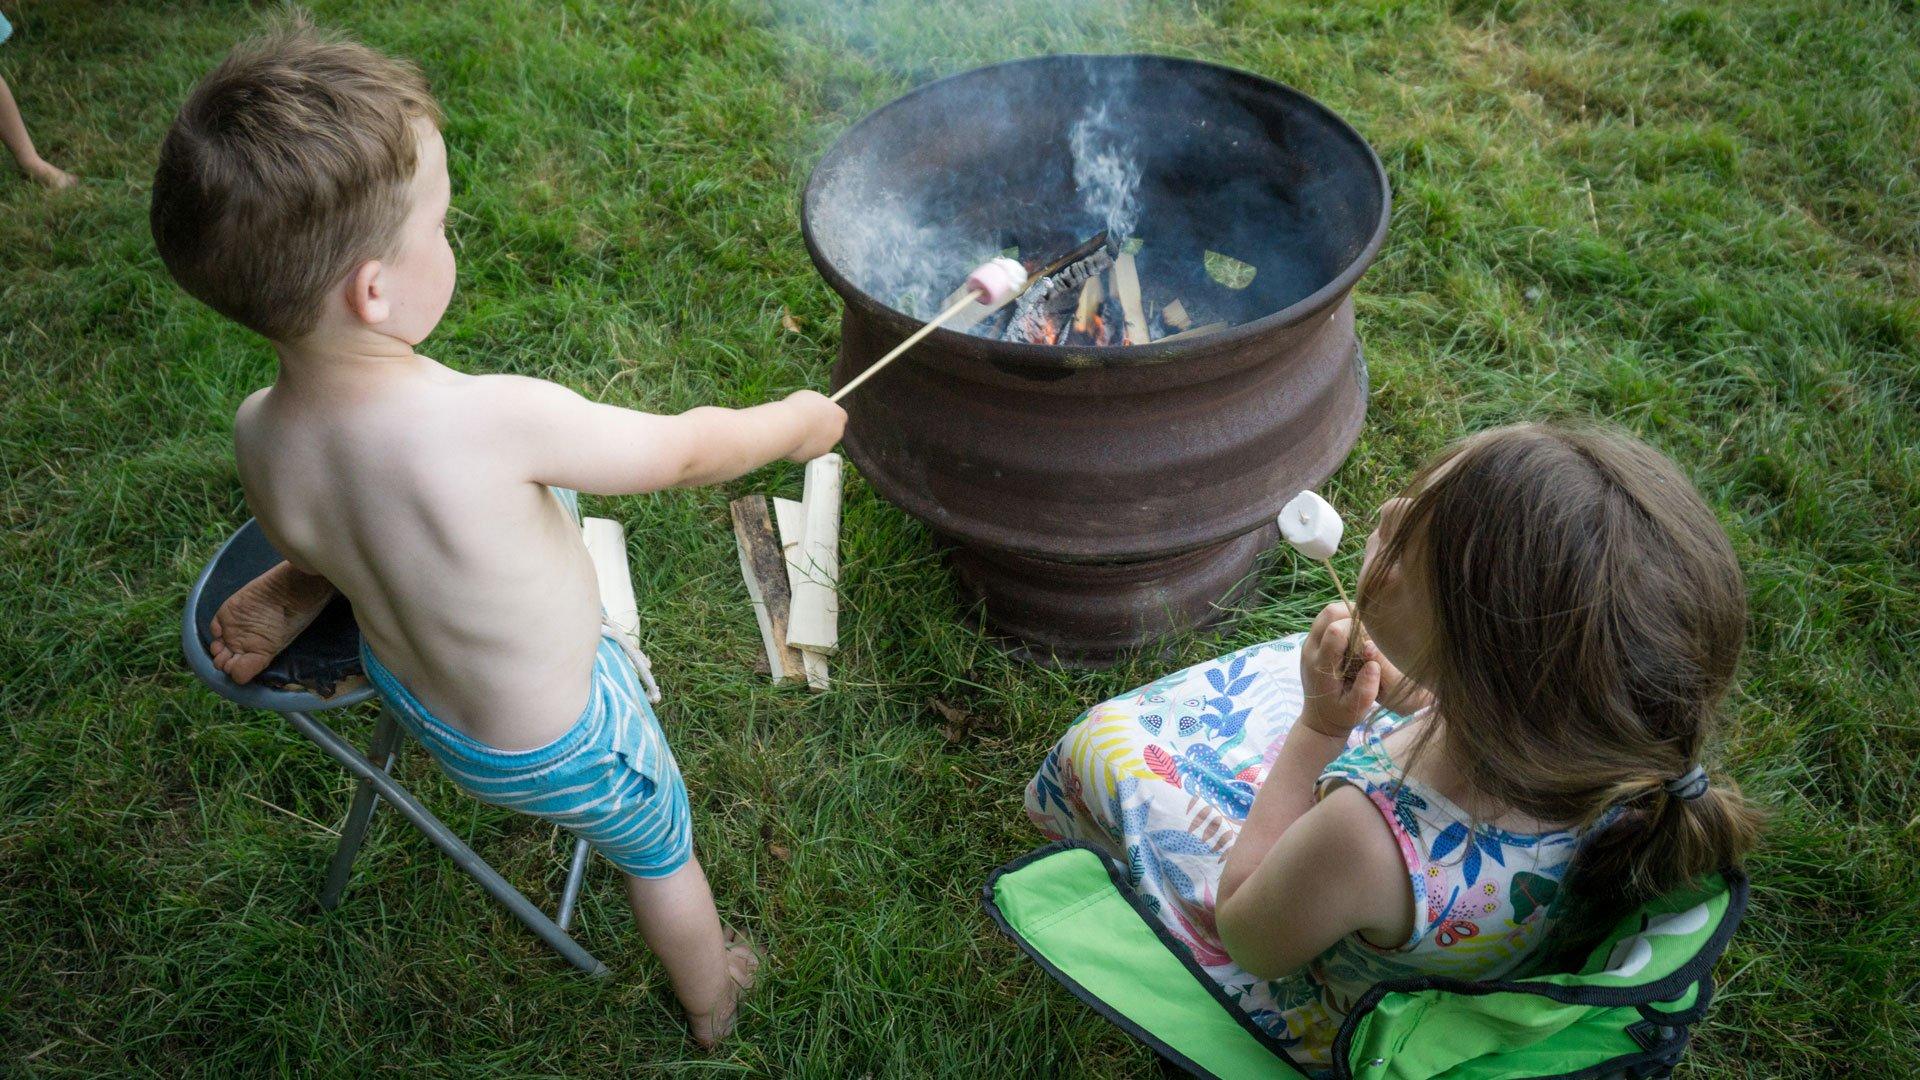
When the summer t-shirts, sun loungers and garden flip-flops come out, why not think about camping out together as a family in the back garden?
There are so many ways that you could put your own twist on this:
- As the moonlight glistens down on your tent, you could create shadow puppets on the walls of your tent using your hands, or you could even make some for lollipop sticks and pieces of fabric beforehand
- Check out a cheap as chips garden lounger if you are in need of a place to stretch out your legs and relax
- Sweet tooth? Buy a fire pit and treat your kids to a toasted marshmallow surprise for dessert after dinner
- Play some Jenga, Dominoes, Connect 4, or other board games inside the tent
- Maybe you could even test out the tent bunting that we mentioned earlier?
Shop Kids' Outdoor Clothing, Footwear and Accessories here.
2. Activity: Doggy den building
For: Your pawsome pet!
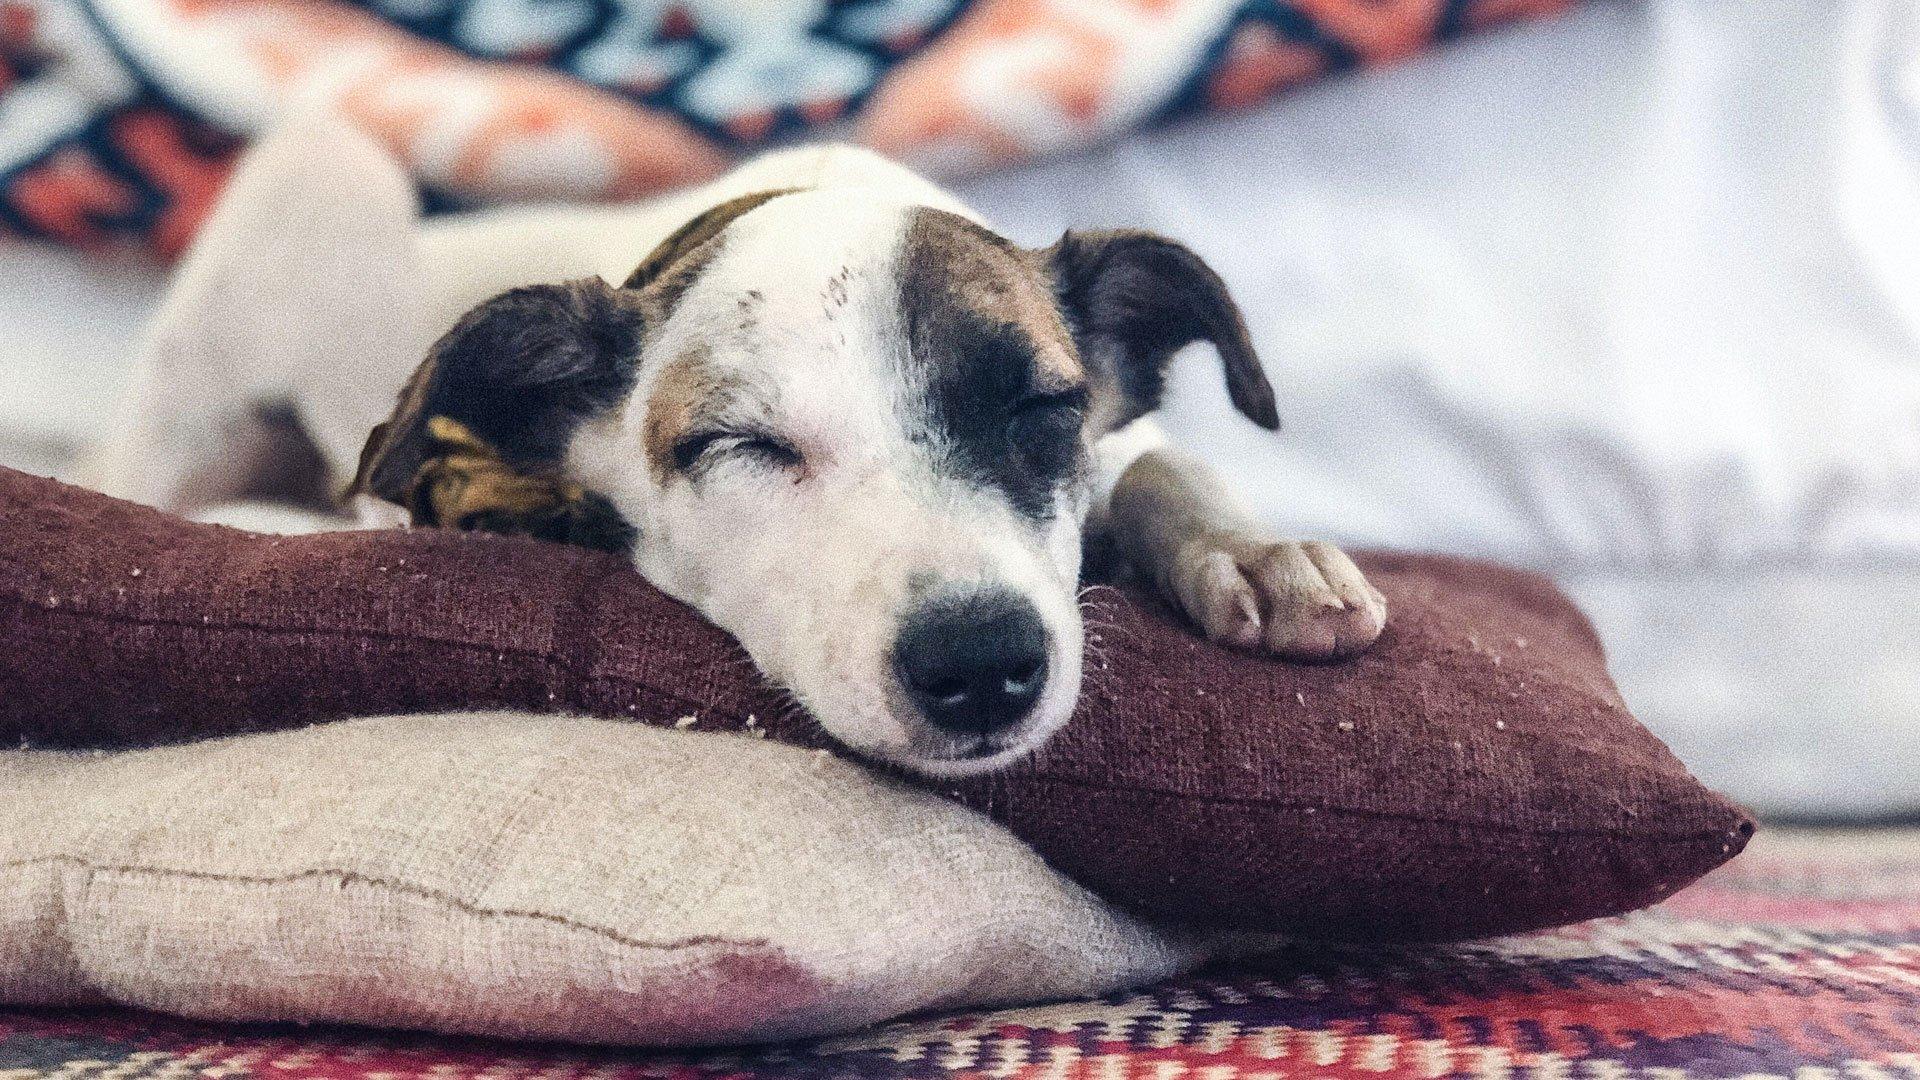
Building a doggy den isn’t that dissimilar to building your own fort or den.
The only difference is that although your dog may cheekily sneak its way in to your fort - as they always do with their hard-to-resist puppy eyes! - you are definitely not allowed inside your four-pawed friend’s den. The whole point of it is to create a safe space for them to relax in and you could even make a sign to show that it’s strictly their space. You might need a dog bed for the inside, so your dog can drift off into the land of nod after a long day of chasing after that frisbee and hopping through the heather like a kangaroo.
Here are some ideas for signs you could create for the doggy den for all you pet lovers out there:
- The Doghouse
- Buster’s Den
- Pooch Palace
- No Humans Allowed!
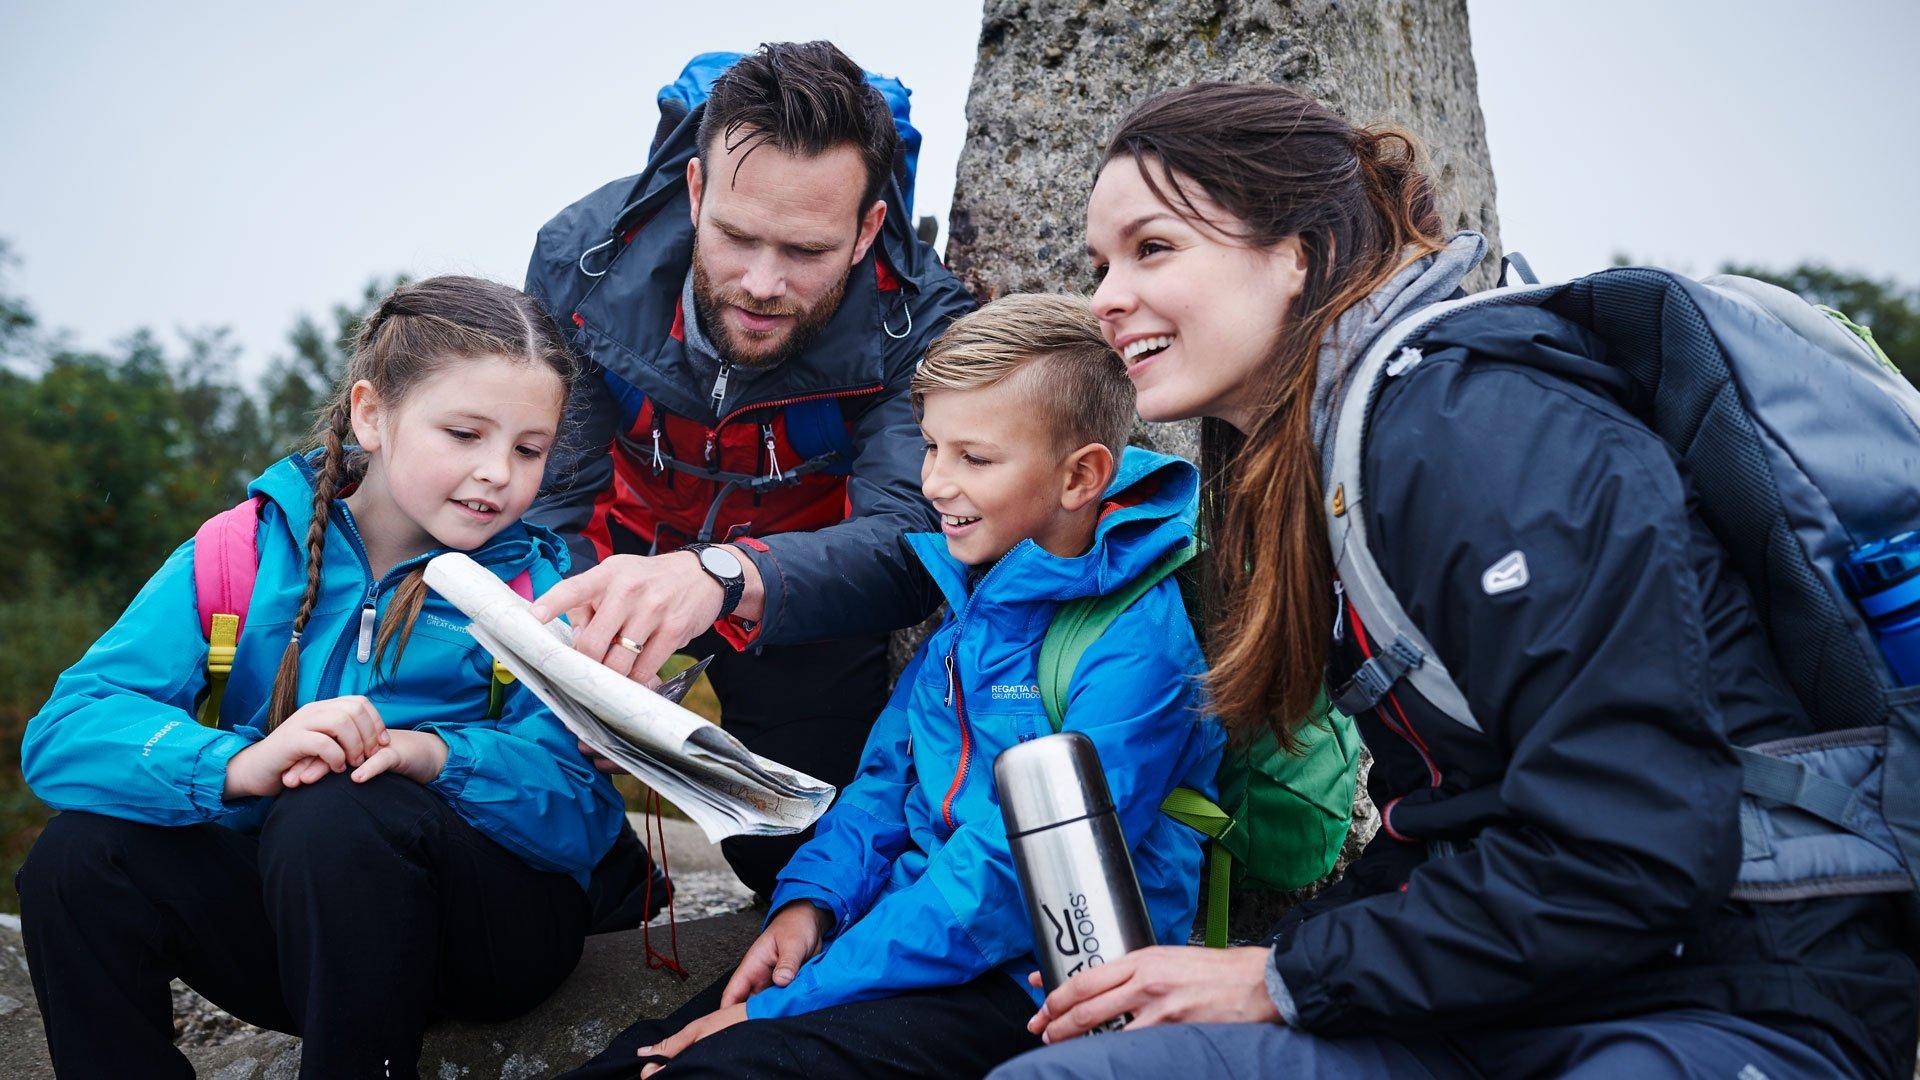
3. Activity: Scavenger hunt
For: The curious ones
We are setting parents, kids and families all over the UK a mission. It’s down to you to create your own checklist, track down hidden items around every corner, then report back to us at Millets headquarters about what you've found. You could do this by posting a list as a comment on this blog.
Pull together a checklist of items, objects, buildings, or people that you could potentially find or see around your village or town.
Items you could include are:
- Post Office
- Shopkeeper
- Postman or Postwoman
- Picnic bench of bench
- Town Hall
- Dog walker
- Park swings
- Football
- 3 other breeds of dog
As a bonus activity, maybe you could look up the history of your local Town Hall? Or at a safe social distance with your masks on as an extra precaution, speak to dog owners about their pet, what breed of dog it is and what its name is?
Your mission awaits and there’s no time to waste! Ready, set, GO!
5. Activity: Making tent bunting
For: Arts and Crafts Lovers
Abra-ca-FLAG-ra!
The magical spell to spruce up your tent, den or fort is made up of a pinch of creativity, a sparkle of colour, and a dash of different materials!
Here’s what you need to do:
- Gather around five different patterned fabrics and/or brightly coloured pieces of scrapbook paper
- Start to draw the shape and size of your first flag out on the paper - remember that it should be isosceles triangles with two long sides and a shorter base
- Cut out the flag. Use this flag as your template flag and use it to cut out the rest of the triangles. How many flags you will need will depend on how long you want the banner to be If you want to add a little something extra to your flag banner, try cutting out the triangle with pinking shears. This will give them a zig-zagged edge instead of a straight one!
- Attach the flags to a string. If you used paper, you can punch three to four holes at the top of each flag and simply thread a piece of string, ribbon or twine through the holes to hang the flags. If you used fabric, you can either sew the top edge of each flag around a piece of twine or ribbon, or you can use a bead of fabric glue to attach the string, for an easier option
- Hang your flag banner by tying the ends of the string to nails in the wall or by draping it over the outside of your den, fort or in the eyes of your little one, their make-believe castle surrounded by a moat or guarded by a scaly fire-breathing dragon!
- Alternatively, save it for when you can go camping again and thread the bunting around the various loops and ropes of your tent/frame to make it stand out from the others
4. Activity: Pottering around the garden
For: Those with green fingers
Are your houseplants starting to get thirsty? Ask your little one to help out with replenishing them with a drink from a watering can.
Or maybe your outdoor plants are starting to look tired and frail? Give your garden or houseplant display a new lease of lucious life by potting some brand new plants, shrubs and larger perennials.
Here are the steps involved in potting some new plants:
- Out with the old! - Remove your old plant from the current pot
- And in with the new! - Turn your new plant sideways, hold it gently by the stems or leaves, and tap the bottom of its pot until the plant slithers it way out. You might need to give it a nudge ith a couple gentle tugs on the base of the stems
- Loosen the roots - Fiddle with the plant to loosen its roots. You can prune off any threadlike roots that are extra-long, just make sure to leave the thicker roots at the base of the foliage. If the roots are growing in very tight circles around the base of the plant, unbind the roots as best you can and give them a trim
- Remove old potting mix - Remove about one third or more of the potting mix surrounding the plant. As it grew, your plant removed some of the nutrients in the current mix, so you'll want to give it fresh mix if you're potting it anyway!
- Refresh and restore the potting mix - Pour a layer of fresh potting soil into the new planter and pack it down, removing any air pockets. If your new planter doesn’t have a drainage hole, layer the bottom with lava rocks or similar (rocks, gravel, etc.) before adding the potting mix. The goal is to create crevices for the extra water to pool into, away from your plant’s roots
- Add plant - Set your plant that you removed from the grow pot on top of the fresh layer of mix in the new planter, making sure it's centered, then add potting mix around the plant until it is secure. Be sure not to pack too much soil into the planter, as you want the roots to breathe
- Tend to your plant - Even out the potting soil on top, water the plant well and on a regular basis, and enjoy!


Comments